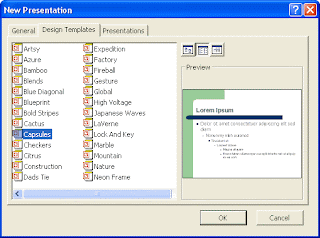
Or, if you have Power 2003, when you click From Design Template in the Task Pane. You'll then see the available designs appear:
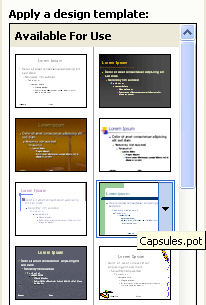
What you're going to do now is to create your own Design Template that will appear on the dialogue box or on the Task Pane. But to get an idea of what you'll be doing, select any of the Design Templates, and click OK.
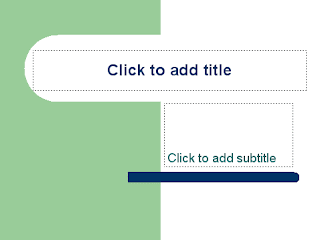
When you do, you'll see a New Slide dialogue box. Select the first one (Title slide). PowerPoint will give you the following new slide:
Insert another slide by clicking Insert > New Slide from the PowerPoint menu at the top. This time, select the Bulleted list. You'll then see the following slide appear:
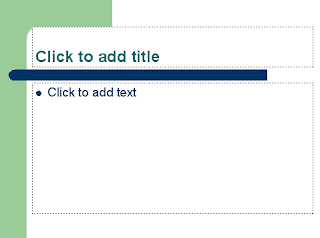
The point about all this is that you don't have to do any work formatting the background, the fonts, or the text box positions. All that has been taken care of in the Design Template....
You've already created a Master Slide in a previous section of this course, so we won't go through everything again. But if you have a presentation open in PowerPoint, click File > Close. Then click File > New. In PowerPoint 2003, select Blank Presentation from the Task Pane on the right hand side. You'll get a slide with a bulleted list. Locate the blank slide in the Task Pane, and click the arrow:
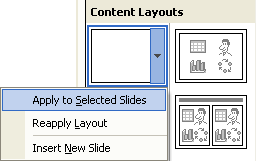
From the menu, select Apply to Selected Slides, as in the image above.
In PowerPoint 2000, you'll see the New Presentation screen again. Click on the General tab, then select Blank Presentation. Click OK, and you should see the New Slide dialogue box appear. Select the Blank slide, as in the image below:
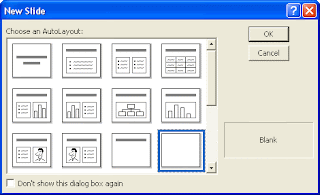
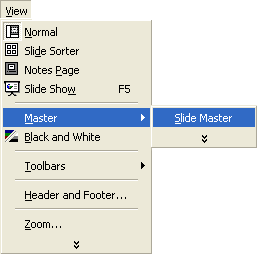
For both 2000 and 2003 users, once you have a blank slide, click View > Master > Slide Master from the menu bar at the top of PowerPoint:
You will be taken to the Master Slide view, and the slide should look like this:
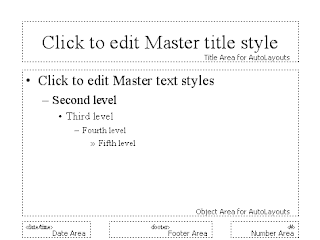
From here, you can redesign any of the areas you see above. First, we'll add a background.
Click Format from the menu at the top of PowerPoint. From the Format menu, select Background. You'll see this small dialogue box appear:
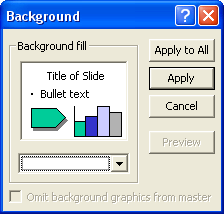
Click the black arrow on the dropdown list, and select Fill Effects:
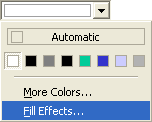
From the Fill Effects dialogue box that appears, click the Picture tab on the end. Browse for a picture on your computer. The one we're going to insert is amongst the file that you downloaded at the start of the book, in the folder called backgrounds.
Your dialogue box will then look like this:
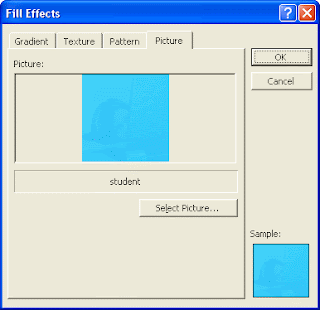
Click OK. When you get back to the small Background dialogue box, click Apply. Your Master Slide will then look like this:
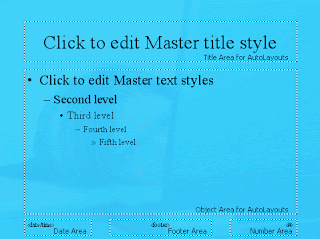
With the background in place, we can format the other areas. Highlight the text in the Title area "Click to edit Master title style". Change the Font to Arial, and the size to 36. Click Format > Font from the menu bar, and select a colour for the Font. We went for a light blue colour:
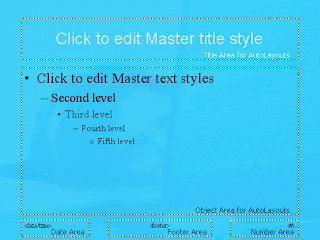
Format the rest of the AutoLayout areas in the same way. Don't forget the Footer area at the bottom. Format the slide number and date, if you prefer:
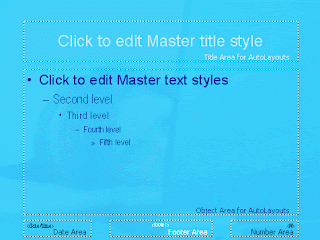
We went with a dark blue colour in the main text area, and Arial for the font. For the footer, the font was again Arial, but size 12 and in white.
If you want, you can resize and move any of the text areas. We did this before when setting up the Master Slide, so won't go through it again.
When you're happy with your Master Slide, click Close on the small dialogue box. Or click View > Normal from the menu bar at the top.
When you get back to the main screen, you should see the formerly white blank canvas you started with change to that of the background you added for the Master Slide.....
Now that you have formatted the Master Slide, you can add a Title slide. A lot of the time, you'd want this to be different from the Master.
Click Insert > New Slide from the menu bars at the top of PowerPoint. Insert a new Title slide:
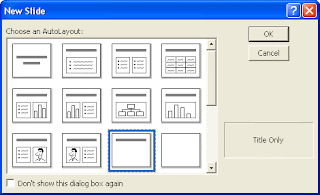
PowerPoint 2000
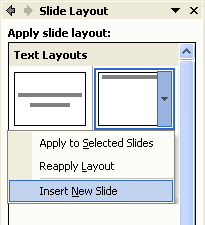
PowerPoint 2003
You should then have two slides in PowerPoint. However, the Title slide will be the second slide, and we want this to be the first, because it will be the opening screen.
To move the Title slide to the start, click View > Slide Sorter from the menu bar. In Slide Sorter view, click on slide 2. Hold down your left mouse button and drag it to before slide 1. Then click View > Normal to get back to the main PowerPoint screen. In Outline View on the left, click on Slide 1. This should now be your Title slide. Click on Slide 2 and it should be blank, with just the background. Here's what your slide 1 should look like:
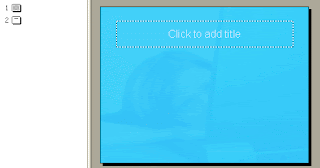
And here's the second slide:
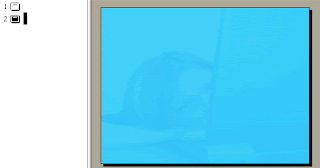
So our Design template has two slides in it so far - a Tile slide, and a Master Slide. (Although the Master Slide is blank in our presentation, when you save it as a Design Template, it will retain all the formatting you did in Master Slide view.)
We can now save this as a Design Template. From the PowerPoint menu bar at the top, click File > Saves As. From the Save As box, select Design Template from Save as type:
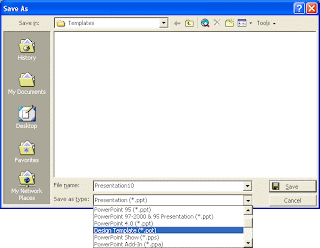
Type a name for your template, and click Save.
Once your design template is saved, you can create a new PowerPoint Presentation with all the formatting already in place. To test it out, click File > New. Your presentation will be on the General tab in PowerPoint 2000, and on the Task Pane in PowerPoint 2003.
In the image below (2000), we have saved the design template with the name Student1 (notice that the file ending is .pot):
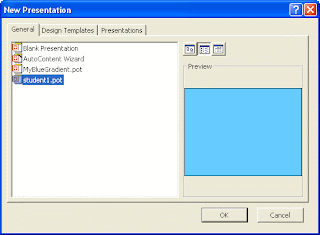
Click OK and your template will be loaded.
Creating a Design Template can save you a lot of time and effort, especially if you're creating PowerPoint presentations for work.


No comments:
Post a Comment